
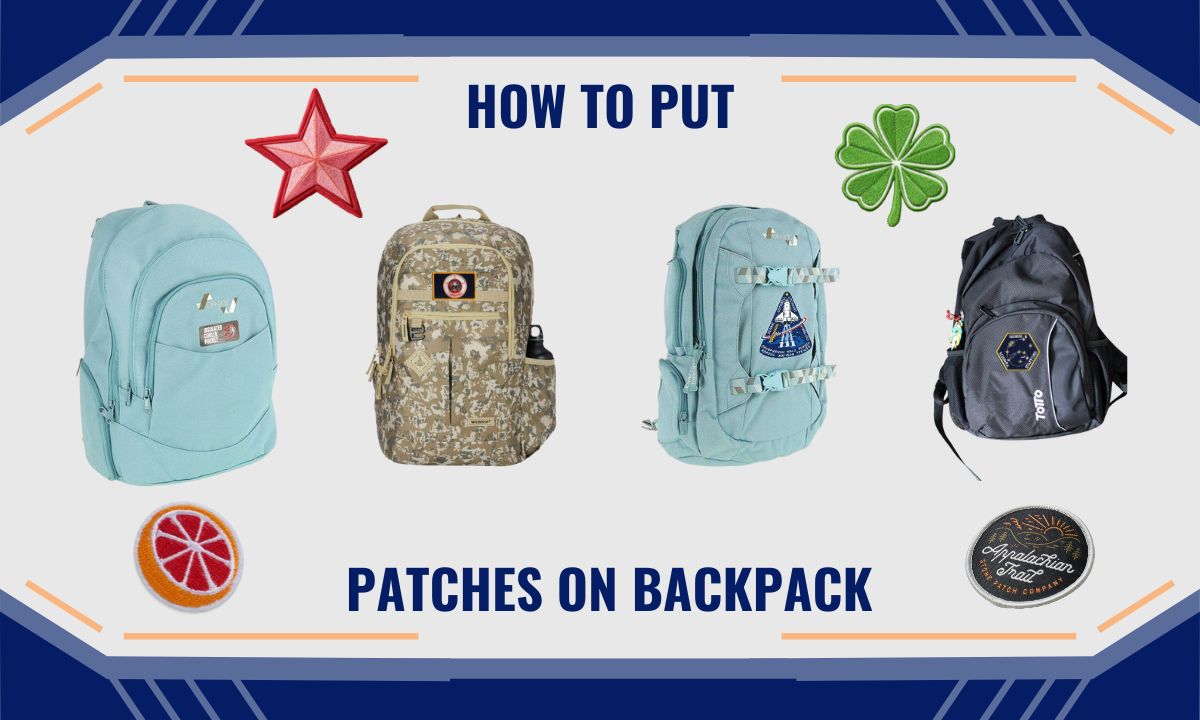
Whether you’re a world traveler or a weekend warrior, your backpack is an essential part of your kit. And what better way to personalize your pack than with some custom patches? In this article, we’ll show you how to put patches on a backpack in just a few simple steps.
First, gather your supplies. You’ll need the patch itself, some scissors, and a sewing needle and thread. If the patch has an adhesive backing, you can skip the sewing step altogether.
Next, position the patch on the backpack where you want it to go. Once you have it in place, cut around the edges of the patch leaving about 1/4 inch of fabric all around.
How to Put Patches on a Backpack Without Sewing
How Do You Attach Patches to Backpacks?
There are a few different ways that you can attach patches to backpacks. The most common method is to sew the patch onto the backpack. This can be done by hand or with a sewing machine.
If you are using a sewing machine, be sure to use a heavy-duty needle and thread that is designed for denim or other thick fabrics. Another option is to use fabric glue or iron-on adhesive to attach the patch. Be sure to follow the manufacturer’s instructions when using either of these methods.
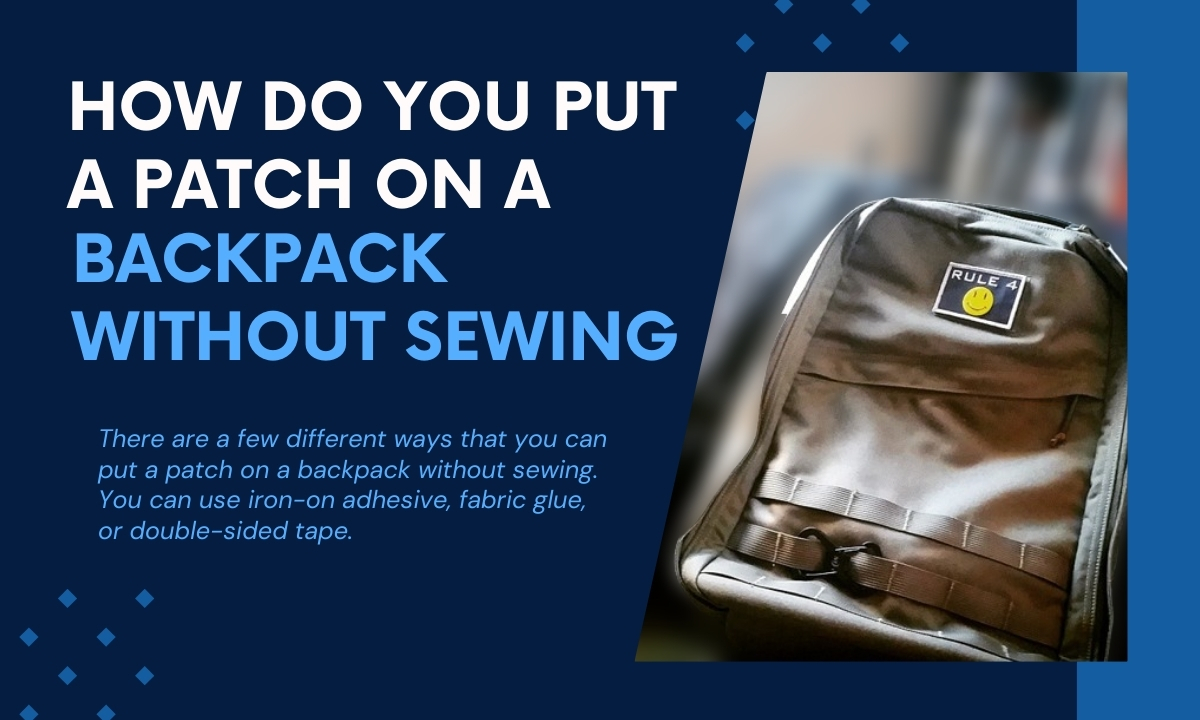
How Do You Put a Patch on a Backpack Without Sewing?
There are a few different ways that you can put a patch on a backpack without sewing. You can use iron-on adhesive, fabric glue, or double-sided tape. If you’re using iron-on adhesive, start by preheating your iron to the appropriate temperature for the type of fabric you’re working with.
Then, place your patch in the desired location and cover it with a piece of parchment paper or a thin cloth. Use your iron to press down on the paper or cloth for 30 seconds to 1 minute. Remove the paper or cloth and allow the patch to cool before using your backpack.
If you’re using fabric glue, apply a thin layer of glue to both the patch and the backpack fabric. Position the patch in the desired location and press it down firmly. Allow the glue to dry completely before using your backpack.
If you’re using double-sided tape, start by peeling off one side of the tape and attaching it to the back of the patch. Press down firmly on the exposed side of the tape to secure it to the patch. Next, peel off the other side of the tape and attach it to The Backpack Fabric In The Desired Location.
Press down firmly on the exposed side of the tape to secure it To The Backpack Fabric.
How Do You Put Patches on a Nylon Backpack?
If you need to put a patch on your nylon backpack, there are a few things you’ll need to do first. Gather a sewing needle and thread, as well as scissors. You’ll also need the patch itself and fabric glue.
Once you have all of your materials, follow these steps:
Start by stitching around the perimeter of the patch, then add X-shaped stitches or other reinforcement stitches on top if desired.
How Do You Iron Patches on Bags?
If you’re looking to add some personality to your handbag, iron-on patches are a great way to do it! You can find patches with all sorts of designs, from funky patterns to cute animals. Best of all, they’re relatively easy to apply. Here’s how:

If your patch is embroidered, be extra careful not to melt any of the threads with too much heat – just lightly press down on any areas that look wrinkled until they smooth out. And that’s it!
How to Put Iron on Patches on Backpack
If you’re looking to add some personalization or flair to your backpack, iron-on patches are a great option! Iron-on patches are easy to apply and can be found in a variety of designs, colors, and sizes. Here’s a step-by-step guide on how to put iron-on patches on your backpack:
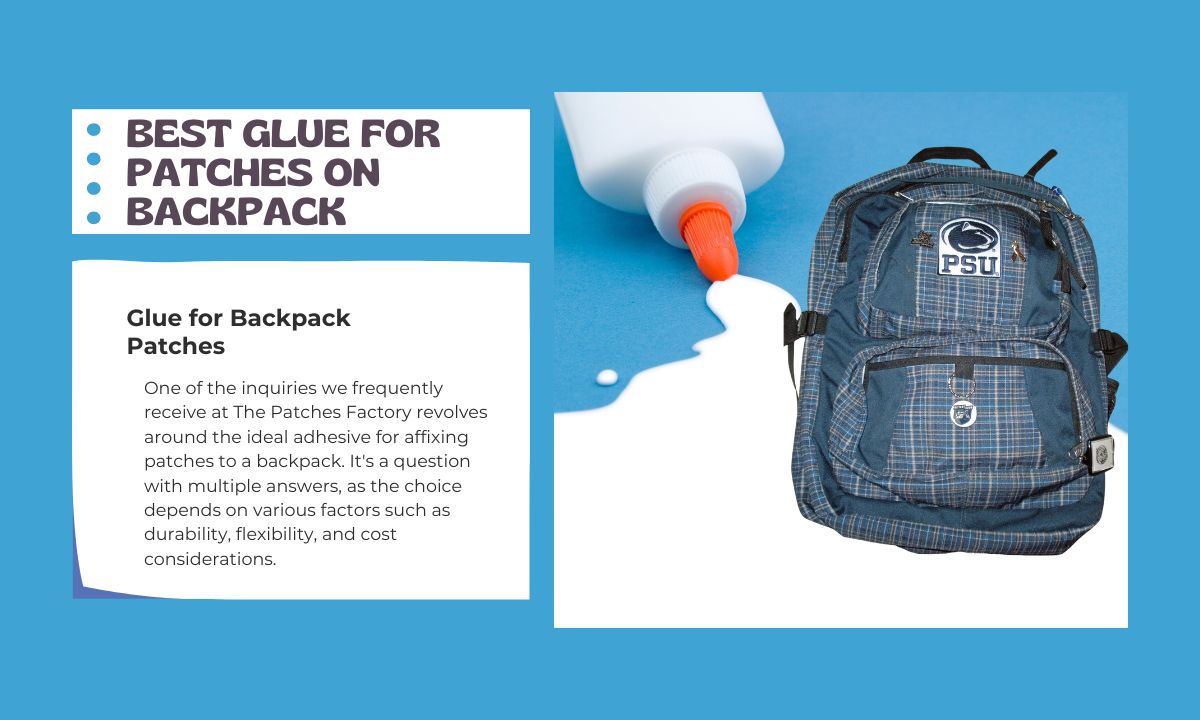
Best Glue for Patches on Backpack
One of the most common questions we get here at The Patches Factory is what type of glue to use when attaching patches to a backpack. There are a few different options and it really depends on what you are looking for in terms of durability, flexibility, and price. Here is a breakdown of some of the most popular types of glue for attaching patches to backpacks:
Fabric Glue: This is a great option if you want something that is going to be very flexible and forgiving. Fabric glue will allow you to position your patch before it dries, so if you need to make any adjustments, you can do so without ruining your patch or your backpack. However, fabric glue is not as durable as some other options and may not stand up to heavy wear and tear.
Super Glue: Super glue is much more permanent than fabric glue, so it’s a great option if you want your patch to really stay put. It’s also much more affordable than some other options. However, super glue can be difficult to work with because it dries quickly and doesn’t give you much time to adjust your patch before it sets.
Sew-On Patches: If you’re looking for the most durable option (and don’t mind spending a little extra), sew-on patches are the way to go. Sewing your patches onto your backpack will create a stronger bond than any type of adhesive, so they’re less likely to come off even after years of heavy use. Of course, this option does require access to a sewing machine (or someone who knows how to sew) and takes a bit more time than just using an adhesive.
But if you want your patches to really last, sew-on is the way to go!
Best Backpack to Put Patches on
Are you looking for the best backpack to put patches on? If so, you’ve come to the right place! In this blog post, we’ll provide detailed information about the best backpacks for putting patches on.
We’ll also share some tips on how to choose the perfect backpack for your needs. When it comes to choosing a backpack for putting patches on, there are a few things you’ll want to keep in mind. First and foremost, you’ll want to make sure that the backpack is made of high-quality materials.
This is important because you don’t want your patches to fall off or become damaged. Secondly, you’ll want to choose a backpack that has plenty of room for all of your patches. You don’t want to be limited in terms of space, so look for a bag that has multiple pockets or compartments.
This will give you ample room to store all of your patches without having to worry about them becoming wrinkled or damaged. Finally, consider the overall style of the backpack when making your selection. There are many different styles available, so take some time to browse through different options until you find one that matches your personal taste and preferences.
If you keep these things in mind when shopping for a new backpack, you’re sure to find one that’s perfect for storing all of your favorite patches!
How to Sew a Patch on a Backpack by Hand
Sewing a patch onto a backpack by hand is a relatively simple process that can be completed in just a few minutes. All you need is a needle, thread, and the patch itself. Here are the steps to follow:
Iron on Patch Nylon Backpack
An iron-on-patch nylon backpack is a great way to add some personality to your backpack. They are easy to apply and come in a variety of designs, so you can find one that fits your style. Iron on patches are also durable, so you don’t have to worry about them coming off in the wash.
How to Put Patches on a Suitcase
If you’ve ever been on a long trip, you know that one of the most annoying things can be having to keep track of all your luggage. And if you’re bringing a lot of gear with you, it can be even more difficult. One way to make sure everything stays together and is easy to find is to put patches on your suitcase.
Here’s how:

How to Put a Patch on a Canvas Bag
Assuming you would like a blog post discussing how to sew a patch onto a canvas bag: If you’re looking to add some personality to your plain old canvas bag, one way to do so is by attaching a patch. This can be done relatively easily with just a needle and thread or with iron-on adhesive.
Read on for instructions on both methods.
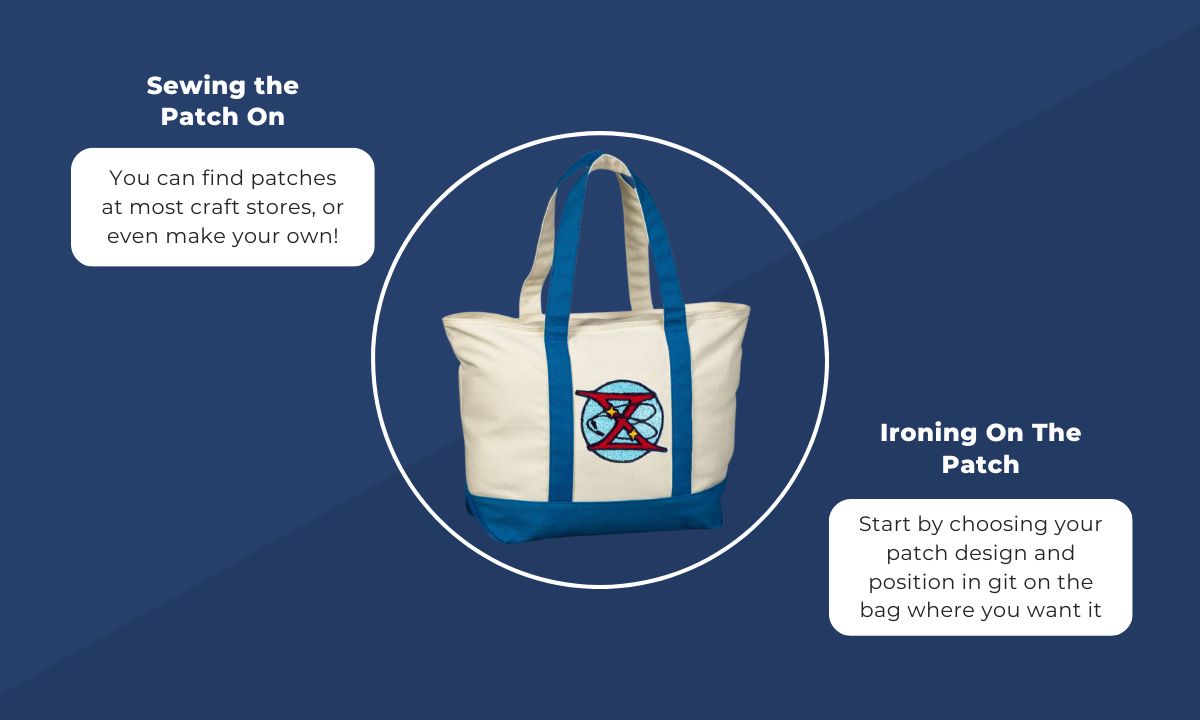
Method 1: Sewing the Patch On
Method 2: Ironing On The Patch
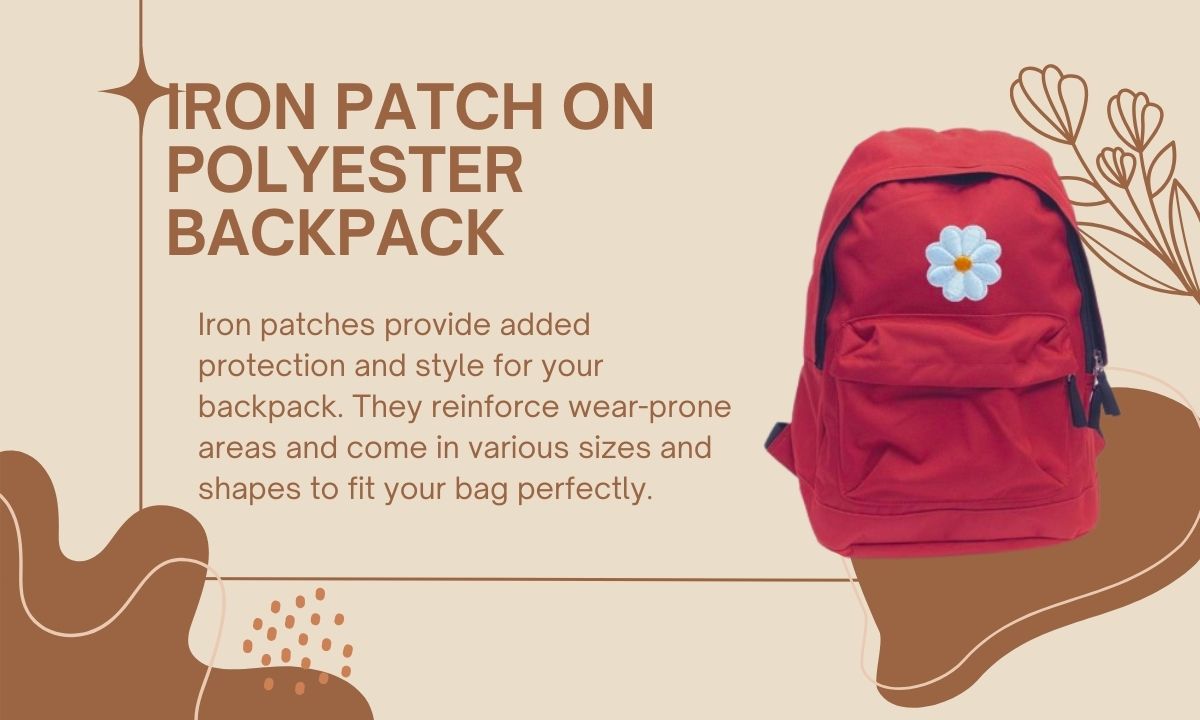
Iron Patch on Polyester Backpack
Iron patches are a great way to add some extra protection to your backpack. They can be used to reinforce areas that are prone to wear and tear, or simply to add a bit of style to your bag. Iron patches come in a variety of sizes and shapes, so you can find one that fits your backpack perfectly.
They’re also relatively easy to apply, so you can do it yourself at home with just a few simple tools. If you’re looking to add an iron patch to your backpack, there are a few things you’ll need to do first. First, measure the area where you want to apply the patch and cut it out accordingly.
Next, place the patch onto the surface of the backpack and secure it in place with tape or glue. Once the patch is secure, use an iron on low heat to press it onto the fabric of the bag. Be sure not move the iron around too much, as this could cause the patch to shift out of place.
Allow the patched area to cool completely before using your backpack again. Iron patches are a great way to extend the life of your backpack and make it look unique at the same time. With just a few simple steps, you can easily add one (or more!) of these handy patches to your bag.
Conclusion
Assuming you would like a summary of the blog post titled “How to Put Patches on Backpack”: The first step is to gather all of the materials you will need: the patches, fabric glue, scissors, and a pencil. Next, lay out the backpack on a flat surface and arrange the patches however you like.
Once you have decided on a design, use the pencil to trace around the edges of each patch. This will help you know where to apply the glue. Now it’s time to start applying the fabric glue to both the back of the patch and also onto the backpack itself within the traced lines.
Be sure to cover entire area with an even layer of glue before attaching patch. Once all patches are applied and dry, your backpack is ready to show off!