
Whether you’re looking to add a personal touch to your backpack or cover up a hole, ironing on a patch is an easy way to do it. You’ll just need a few supplies and a little bit of time. First, gather your things: the patch, an iron, and something to protect the surface you’re working on (a thin towel or piece of cloth).
Make sure the area you’re working in is well-ventilated. Ironing on a patch can get pretty smelly!
How to Iron PATCHES!
How Do You Put a Patch on a Backpack?
Assuming you would like tips on how to properly attach a patch onto a backpack: Supplies needed: scissors, fabric glue or a needle and thread.
How Do You Attach a Patch to a Backpack Iron?
There are a few different ways that you can attach a patch to a backpack iron. The most common way is to use an adhesive backing. You can find these at most craft stores.
Another way is to sew the patch onto the backpack. This will give it a more permanent hold. If you are not sure how to do this, you can always ask someone at the store for help.
Can You Iron on a Patch to a Nylon Backpack?
Ironing on a patch to a nylon backpack is possible, but there are a few things you need to take into consideration before doing so. The first thing is the type of adhesive that is used on the back of the patch. If it is a heat-activated adhesive, then you will need to set your iron to a low setting and use a pressing cloth between the iron and the patch to protect the nylon fabric from scorching.
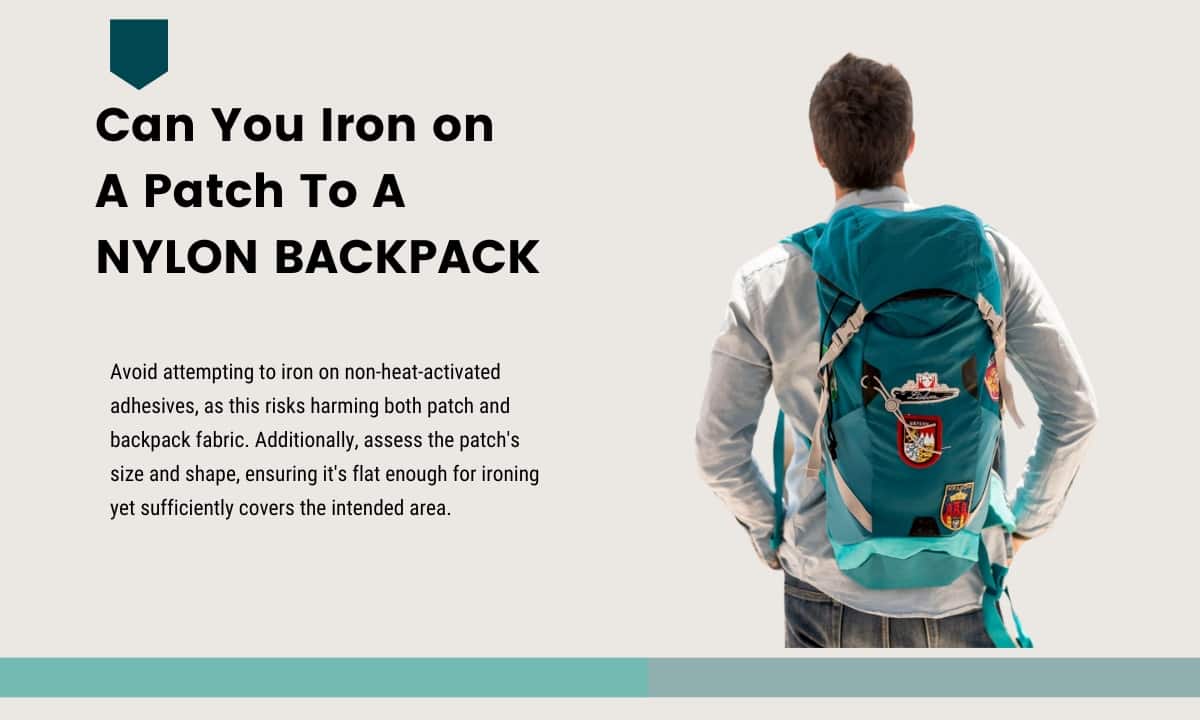
If the adhesive is not heat-activated, then you should not attempt to iron it on, as this could damage both the patch and the backpack fabric. Another thing to consider is the size and shape of the patch. It needs to be small enough that it can be pressed flat with an iron, but large enough that it will cover the area you want to repair.
Finally, make sure that there are no loose threads or other debris on the surface of the backpack where you plan to iron on the patch, as this could cause problems with adhesion later on.
Can I Put a Patch on My Backpack?
Yes, you can put a patch on your backpack. Patches can be a great way to personalize your backpack and show off your unique style. There are a few things to keep in mind when choosing and applying patches to your backpack, though.
First, make sure the patch is not too heavy or bulky so that it doesn’t add unnecessary weight to your bag. Second, attach the patch securely so that it doesn’t fall off easily. You can do this by sewing it on or using strong adhesive.
Finally, choose a location for the patch that won’t interfere with the function of the backpack, such as putting it on a flat surface rather than over a zipper or pocket. With these tips in mind, go forth and express yourself with some cool patches!
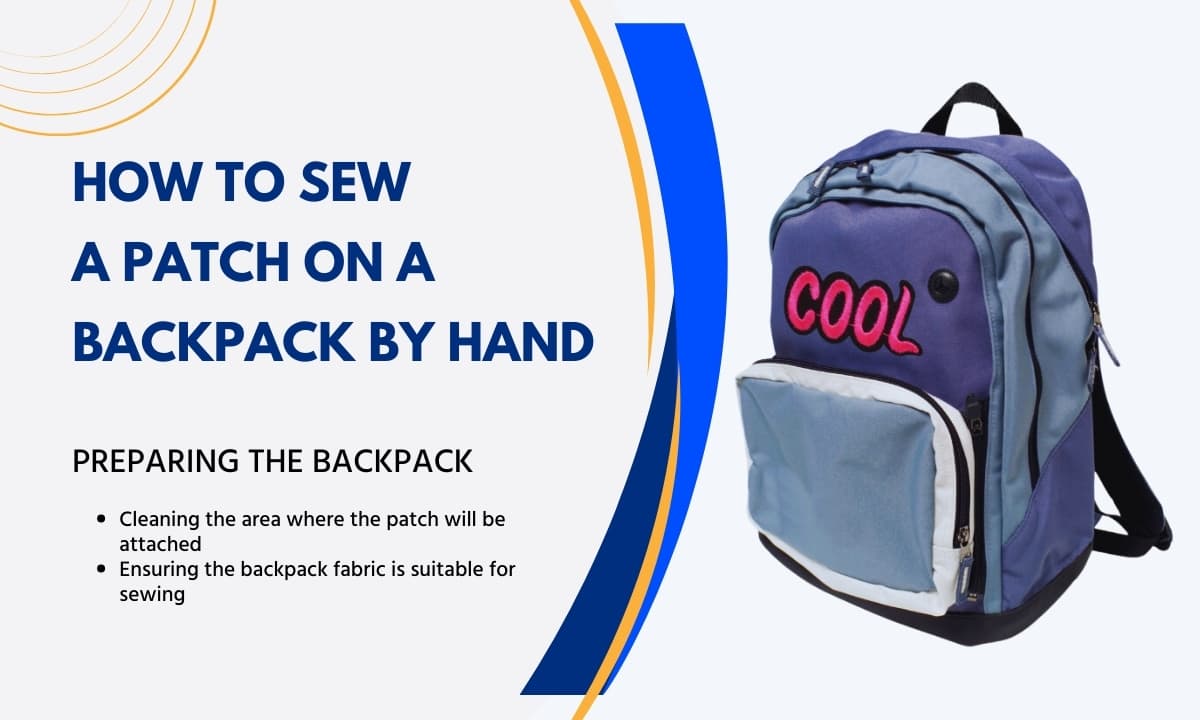
How to Sew a Patch on a Backpack by Hand
Assuming you don’t have a sewing machine available, here’s how to sew a patch on a backpack by hand. You’ll need a needle and thread, scissors, and an iron.
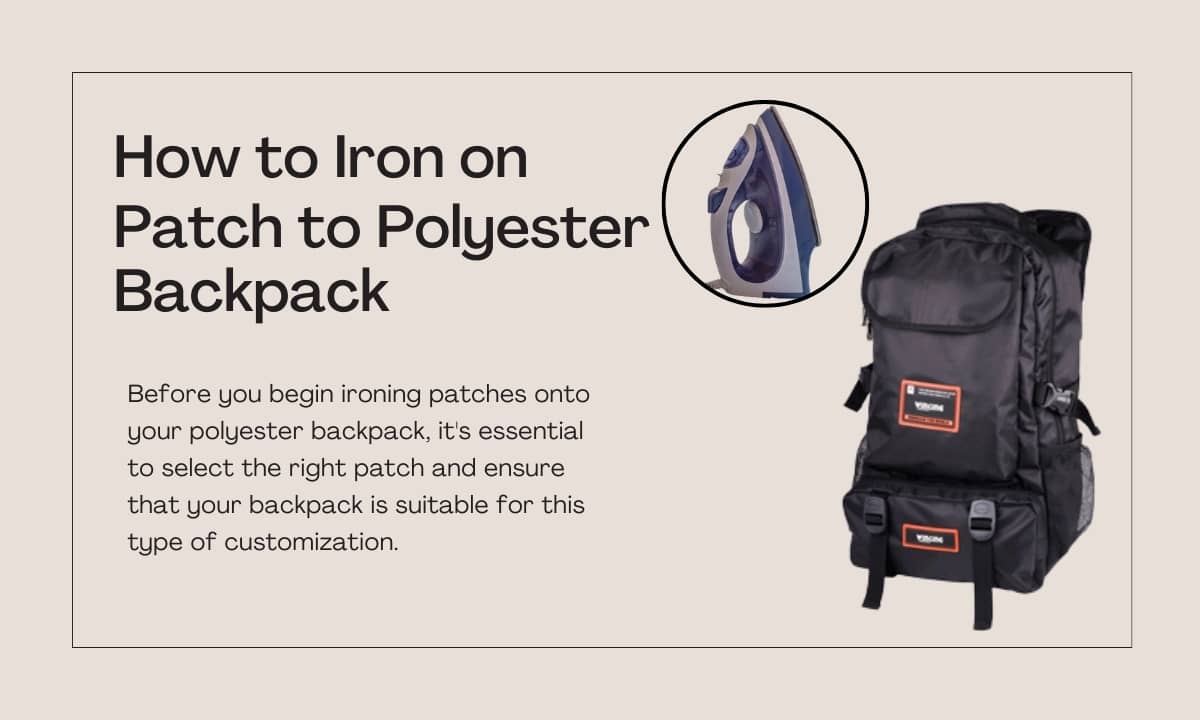
How to Iron on Patch on Polyester Backpack
If you’re looking to add a little personality to your backpack, iron-on patches are a great way to do it! Here’s a quick guide on how to apply them:
How to Iron on Patch to Nylon Backpack
Ironing on a patch to a nylon backpack is a quick and easy way to add some personalization or decoration to your bag. Here are the simple steps to follow:
How to Iron on Letters on a Backpack
One of the most popular ways to personalize a backpack is by ironing on letters. This is a relatively simple process that can be done at home with a few supplies. Here’s what you need to know about how to iron on letters on a backpack.
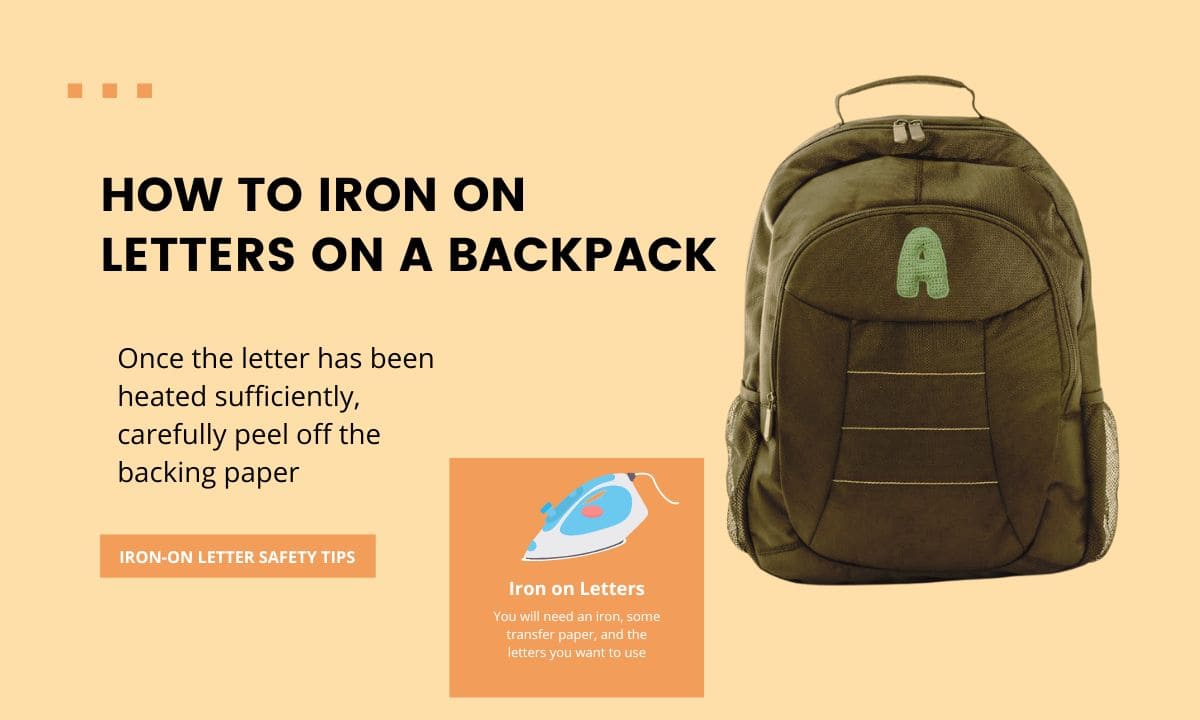
The first step is to gather your supplies. You will need an iron, some transfer paper, and the letters you want to use. The transfer paper should be placed between the letter and the fabric so that the letter is transferred onto the backpack instead of being burned into it.
Next, set your iron to a medium heat and place the letter on the backpack where you want it. Press down with the iron for 30-60 seconds, making sure that all areas of the letter are being heated evenly. Move the iron around in small circles so that you don’t accidentally miss any spots.
Once the letter has been heated sufficiently, carefully peel off the backing paper. If any parts of the letter seem like they might not have adhered properly, press down with the iron again for another 30 seconds or so until everything seems secure. And that’s it!
You’ve now successfully added personalized flair to your backpack using nothing but an iron and some creativity.
Best Glue for Patches on Backpack
If you’ve ever had to patch up a hole in your backpack, you know that finding the right glue is key. There are a lot of different glues out there, so it can be tricky to find the best one for the job. But never fear!
We’re here to help. We’ll start by saying that there are two types of glues that are typically used for patches: fabric glue and hot glue. Fabric glue is great for bonding fabrics together, but it isn’t always strong enough to hold up a patch on its own.
Hot glue, on the other hand, is very strong but can be difficult to work with (and it’s not ideal for bonding fabric). So, what’s the best option? We recommend using a combination of both hot glue and fabric glue.
First, use hot glue to attach the patch to your backpack. Then, use fabric glue around the edges of the patch to secure it in place. This method will give you a strong bond that will last through all your adventures.
Now that you know how to choose the best glue for your backpack patches, happy crafting!
Can You Iron Patches on Jansport Backpacks
If you’re looking to add some personal flair to your JanSport backpack, you may be wondering if you can iron patches onto the fabric. The good news is that yes, you can! Iron-on patches are a great way to customize your backpack and show off your unique style.
Here’s what you’ll need to do: first, find some patches that you like and that will fit on your backpack. Next, lay out the backpack flat and position the patches where you want them. Then, cover the patches with a thin cloth (a handkerchief or piece of cotton fabric will work well).
Finally, use a medium-hot iron to press down on the cloth for 30-60 seconds. Be sure not to move the iron around too much, as this could cause the patch to come off. That’s it!
Your new patched backpack is ready to hit the books…or the trails!
Best Backpack for Iron on Patches
Iron on patches are a great way to add personality and style to your backpack. But with so many different types and sizes of iron on patches available, it can be hard to know which one is right for you. Here are a few things to consider when choosing the best backpack for your iron on patches:

How to Put Patches on Nylon Backpack
If you’ve ever wondered how to put patches on a nylon backpack, wonder no more! Here’s a quick and easy guide that will have your backpack looking extra stylish in no time. First, gather your supplies.
You’ll need the patches you want to add to your backpack, a ruler or measuring tape, scissors, and fabric glue. Once you have everything gathered, it’s time to start Measure and cut the fabric glue to fit the back of each patch. Next, peel off the backing from the fabric glue and apply it to the back of each patch.
Be sure to smooth out any bubbles or wrinkles. Now comes the fun part – placing your patches on your backpack! Arrange them however you like until you’re happy with the look.
Once you’ve decided on their placement, gently press each patch into place. Give the fabric glue a few minutes to dry, and then voila – you’re all done!
Conclusion
Ironing on a patch to a backpack is simple and only requires a few supplies. First, gather your supplies: an iron-on patch, an iron, and a piece of cardboard. Place the patch on the backpack where you want it, then place the piece of cardboard inside the backpack to prevent the iron from damaging the other side.
Next, set your iron to a medium heat and Iron over the patch for 30 seconds. Allow the patched area to cool before using your backpack.